


Learn Python and GPT-3 from Scratch: A Beginner's Guide
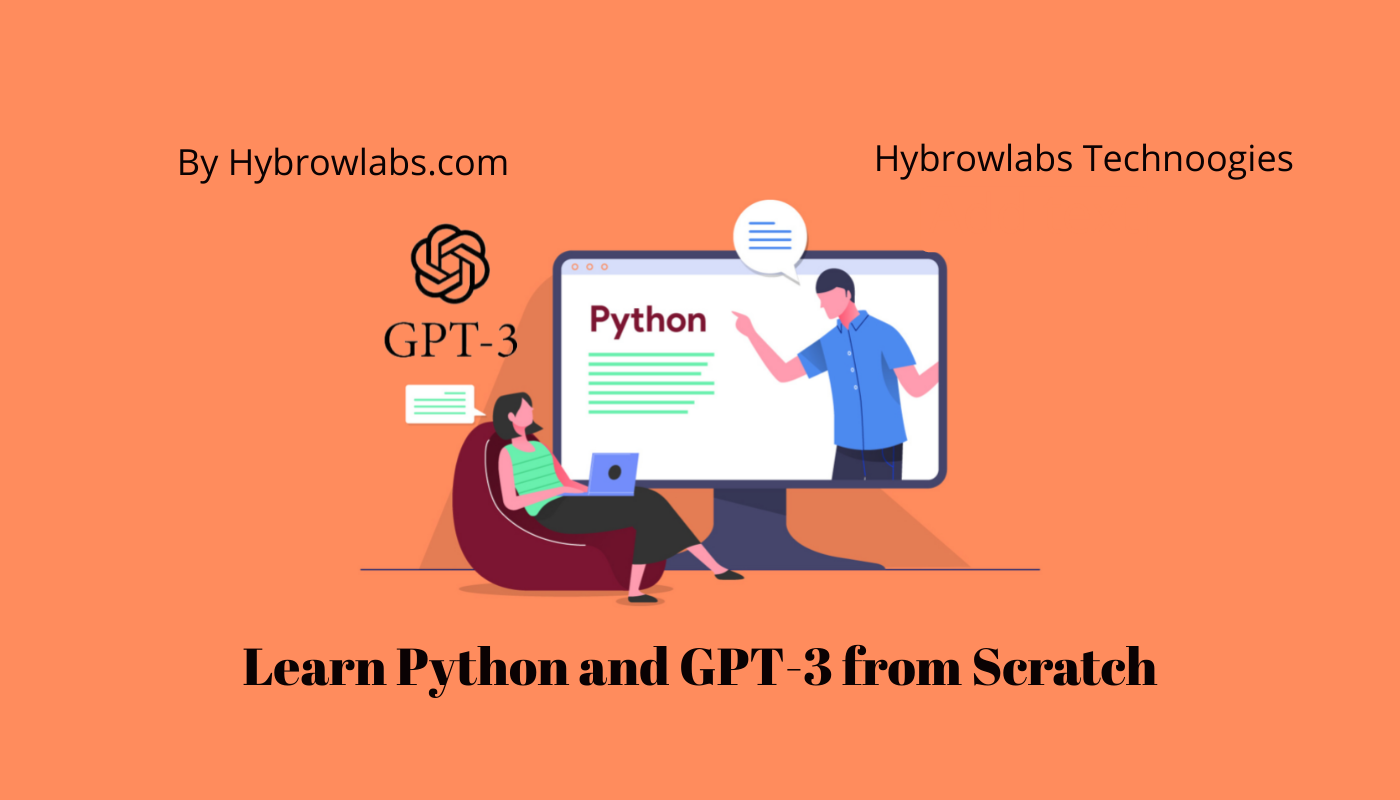
A Beginner's Guide: Learn How to Build a GPT-3 Chatbot with Python:
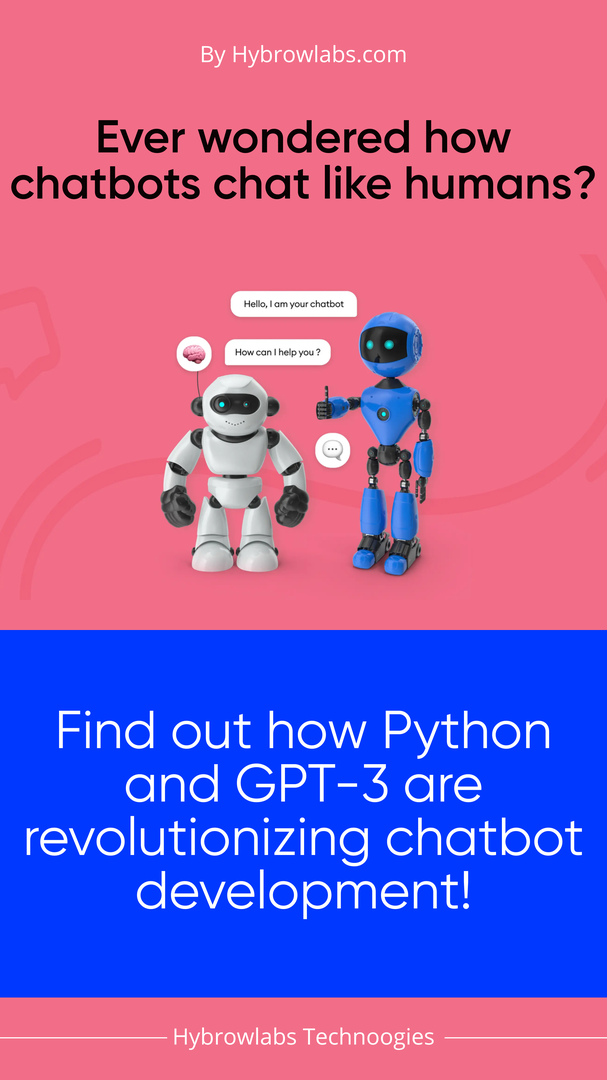
Have you ever wondered how chatbots are able to have human-like conversations with us? If you're curious about the world of chatbots, you're in the right place! In this beginner's guide, we'll take you through the process of building your very own chatbot using Python & GPT-3. In this article, I will walk you through the process of creating a simple chatbot from scratch. So whether you're a curious beginner or a seasoned developer looking to learn more about chatbots, let's dive in!
How Python & GPT-3 are Revolutionizing Chatbot Development?
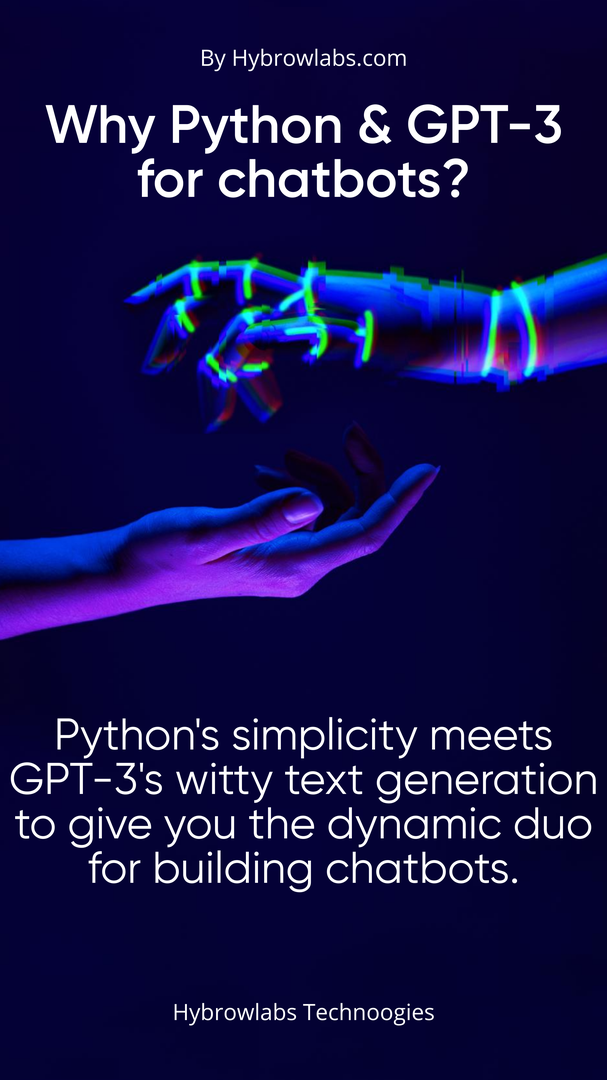
Python is a popular programming language that is used for a wide range of applications, including web development, scientific computing & data analysis. It is known for its simplicity, readability & ease of use, which makes it an ideal choice for beginners who are just starting to learn programming.
GPT-3 (Generative Pre-trained Transformer 3) is a language model developed by OpenAI, which uses artificial intelligence to generate human-like responses to text prompts. It has been trained on a massive amount of data and has the ability to generate natural language text that is coherent, grammatically correct, & sometimes even witty.
Python & GPT-3 make a dynamic duo for building chatbots that can create engaging conversations. With its flexibility & a range of libraries like Flask & Django, Python is the perfect fit for chatbot development. GPT-3's human-like response generation takes it a step further by making interactions more natural & engaging. This combination can be a game-changer for industries such as customer service & e-commerce. Together, Python & GPT-3 are powerful tools that can help create immersive chatbot experiences.
Chatbots: Transforming Industries with Limitless Possibilities:
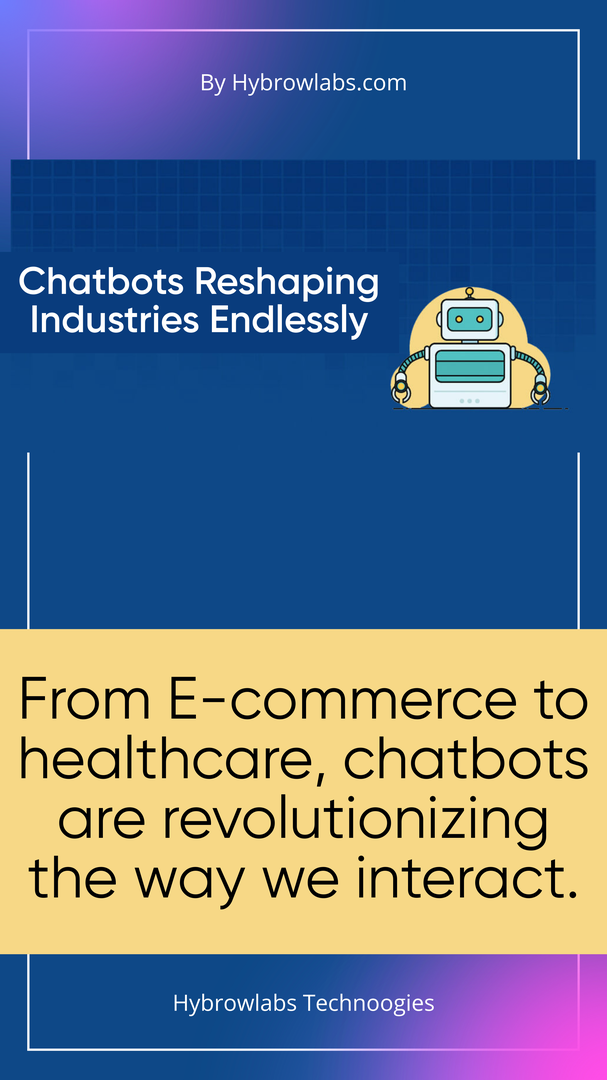
- Customer service: Chatbots can provide quick & efficient customer support by answering common questions & providing assistance with simple tasks.
- E-commerce: Chatbots can help customers find products, make purchases & track orders.
- Healthcare: Chatbots can be used to provide patients with medical advice & assistance, schedule appointments & provide reminders for medication.
- Banking and finance: Chatbots can assist customers with account management, money transfers & provide financial advice.
- Education: Chatbots can provide students with information on courses, schedules & assignments, as well as provide personalized feedback.
- Travel and hospitality: Chatbots can help customers book flights, hotels & rental cars, as well as provide recommendations on local attractions & restaurants.
- Entertainment: Chatbots can be used to provide personalized recommendations for movies, TV shows, music & games.
Step-by-step Process: How To Build a GPT-3 Chatbot with Python?
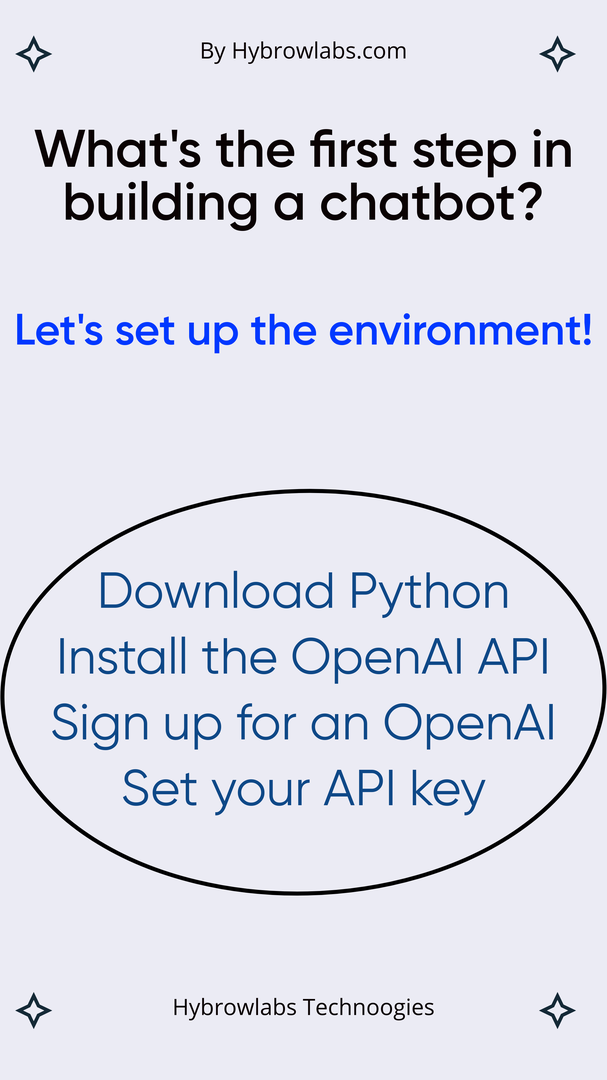
1. Setting up your environment:
i. Download & install Python on your computer:
Python can be downloaded & installed from the official website (https://www.python.org/downloads/). Make sure to download the version of Python that is compatible with your operating system.
ii. Install the OpenAI API to access GPT-3:
Once you have installed Python, open the command prompt or terminal on your computer & type in the command "pip install openai". This will install the OpenAI API, which you will need to access GPT-3.
iii. Sign up for an OpenAI account & obtain your API key:
In order to use GPT-3, you will need to sign up for an OpenAI account & obtain your API key. You can do this by visiting the OpenAI website (https://beta.openai.com/signup/) & signing up for an account. Once you have signed up, you will be able to access your API key from the OpenAI dashboard.
iv. Set your OpenAI API key:
Once you have obtained your API key, you will need to set it as an environment variable on your computer. This can be done using the OpenAI Secret Manager library, which can be installed using the command "pip install openai_secret_manager". Once you have installed the library, you can set your API key as an environment variable using the following command:
openai_secret_manager.set_secret("OPENAI_API_KEY")
Replace "OPENAI_API_KEY" with your actual API key.
By completing these steps, you will have set up your development environment for building a chatbot with Python & GPT-3. Now you're ready to start building your chatbot!
2. Create Your first chatbot:
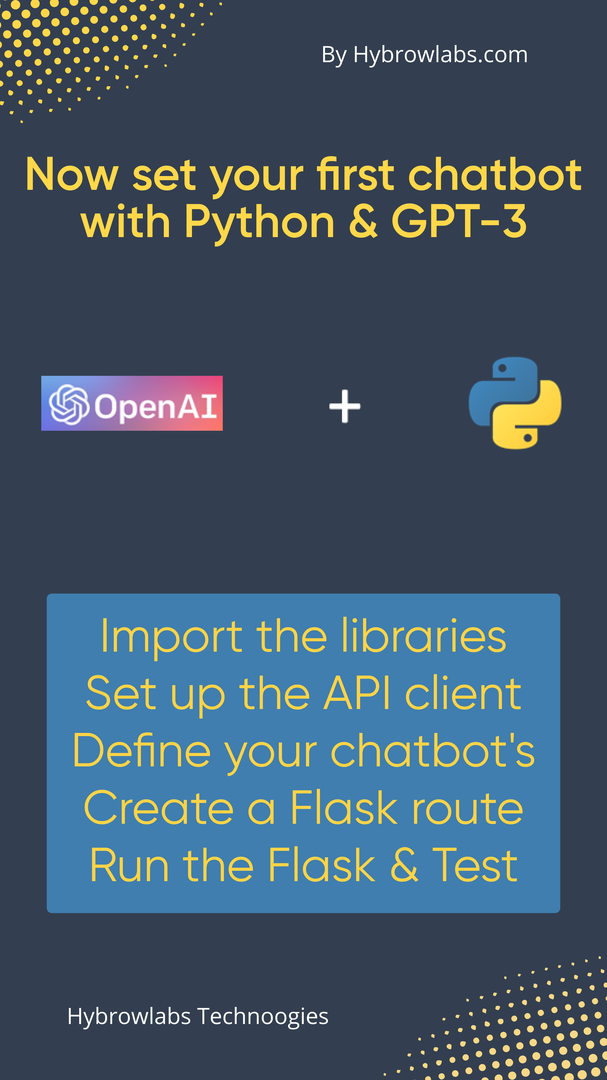
i. Import the required libraries - OpenAI, OpenAI Secret Manager, Flask & Python-dotenv:
Start by importing the required libraries to your Python script. You can do this using the following code:
import openaiimport openai_secret_managerfrom flask import Flask, request, jsonifyfrom dotenv import load_dotenvimport os
ii. Set up the OpenAI API client using your API key:
Next, set up the OpenAI API client using your API key. You can do this by calling the ‘openai_secret_manager’ function & passing in your API key as follows:
openai.api_key = openai_secret_manager.get_secret("OPENAI_API_KEY")["api_key"]
iii. Define your chatbot's behavior using a Flask web application:
Create a Flask web application & define your chatbot's behavior within it. You can do this by defining a function that takes in the user's message & returns a response generated by GPT-3. Here's an example function:
def generate_response(prompt):response = openai.Completion.create(engine="davinci",prompt=prompt,max_tokens=100)return response.choices[0].text
iv. Create a Flask route to receive user messages and send them to GPT-3:
Define a Flask route that receives the user's message & passes it to the ‘generate_response’ function you defined in step 3. Here's an example Flask route:
@app.route("/chatbot", methods=["POST"])def chatbot():message = request.form["message"]response = generate_response(message)return jsonify({"response": response})
v. Use GPT-3 to generate a response to the user's message & return it to the user:
Call the ‘generate_response’ function within your Flask route & return the response to the user in a JSON format. This will send the response back to the client side of your chatbot application.
vi. Run the Flask application & test your chatbot:
Start your Flask application & test your chatbot by sending a message to the chatbot through the "/chatbot" route. Here's an example Flask application code:
app = Flask(__name__)@app.route("/")def home():return "Welcome to my chatbot!"@app.route("/chatbot", methods=["POST"])def chatbot():message = request.form["message"]response = generate_response(message)return jsonify({"response": response})if __name__ == "__main__":app.run()
Run this code in your Python environment & navigate to http://localhost:5000/ in your web browser to see your chatbot in action.
3. Improve the Chatbot:
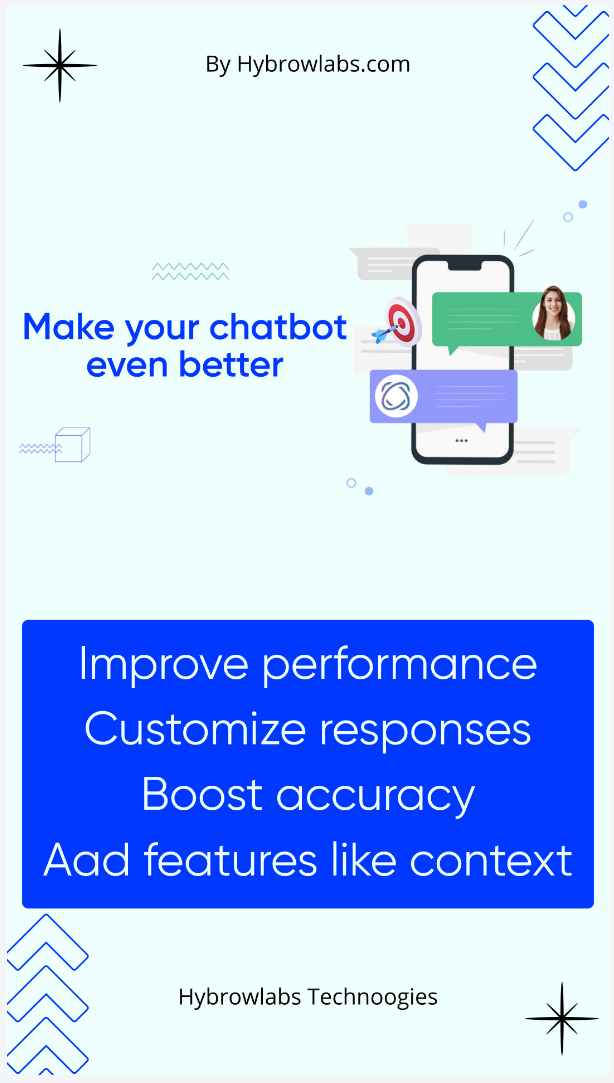
i. Enhance your chatbot's performance with GPT-3's search function:
- Update the OpenAI API client to use the search function with the ‘search’ method.
response = openai.api_client.search(engine="davinci",prompt="What is the meaning of life?",max_rerank=5,return_metadata=True)
- Parse the response to obtain the top search results.
results = response['data']for result in results:answer = result['answer']confidence = result['metadata']['confidence']print(f"Answer: {answer}\nConfidence: {confidence}")
ii. Customize your chatbot's responses with fine-tuning:
- Prepare a dataset of inputs & outputs in the format of prompt-response pairs.
dataset = [ ["Hello", "Hi there!"],["How are you?", "I'm doing well, thank you. How about you?"],...]Fine-tune GPT-3 using the ‘fine-tune’ method and the prepared dataset.openai.api_client.fine_tune(model='text-davinci-002',prompt_language='en',dataset=dataset,...)
iii. Boost accuracy with Natural Language Processing libraries:
- Install a Natural Language Processing library such as spaCy or NLTK.
!pip install spacy!python -m spacy download en_core_web_sm
- Use the library to pre-process user input and generate more accurate responses.
import spacynlp = spacy.load('en_core_web_sm')def process_input(user_input):doc = nlp(user_input)# process the doc using your desired NLP techniquesreturn processed_inputdef generate_response(user_input):processed_input = process_input(user_input)response = openai.Completion.create(engine="davinci",prompt=processed_input,...)return response.choices[0].text
iv. Add advanced features like context awareness & multi-turn conversations:
- Store the conversation history & context between turns.
conversation_history = []context = {}@app.route('/chat', methods=['POST'])def chat():user_message = request.form['message']conversation_history.append(user_message)response = generate_response(user_message, conversation_history, context)conversation_history.append(response)return jsonify({'response': response})
- Use the conversation history & context to generate more context-aware & personalized responses.
def generate_response(user_input, conversation_history, context):prompt = build_prompt(user_input, conversation_history, context)response = openai.Completion.create(engine="davinci",prompt=prompt,...)return response.choices[0].text
v. Make your chatbot accessible by deploying it to a web server or cloud platform:
- Choose a hosting platform:
There are many hosting platforms available, such as Heroku, Google Cloud, or Amazon Web Services (AWS). Choose the one that best suits your needs & budget. Here's an example of deploying a Flask app to Heroku:
heroku create my-chatbot-app
- Set your environment variables for your API key:
heroku config:set OPENAI_SECRET_KEY=my-api-key
- Push your code to Heroku:
git push heroku master
- Scale your application to at least one dyno to ensure it's running:
heroku ps:scale web=1
- Test your chatbot using the Heroku URL provided:
heroku open
That's it! Your chatbot is now accessible on the web.
Conclusion:
With this beginner's guide, you should now have a solid foundation to start building your own chatbots using Python & GPT-3. Remember to start by setting up your environment, dive into building your first chatbot & follow best practices for creating engaging & effective conversational experiences. Don't forget to have fun with it & keep learning along the way. Who knows, your chatbot might just become the next big thing!
Also, if you're looking for a bit of extra help in building your chatbot, our team at Hybrowlabs Technologies is always here to support you. Our experienced developers can assist you in building custom chatbots tailored to your specific needs, utilizing the latest technology like Python & GPT-3. So don't hesitate to reach out to us & see how we can help take your chatbot to the next level.
FAQ:
1. Is Python difficult to learn for beginners?
While learning any programming language can be challenging at first, Python is often considered one of the easiest languages for beginners to learn. Its syntax is straightforward & easy to understand & there is a wealth of resources available online for beginners to learn from.
2. Do I need any prior coding experience to learn Python & GPT-3?
A: No, you don't necessarily need prior coding experience to learn Python and GPT-3. However, having a basic understanding of programming concepts such as variables, functions & control flow structures can be helpful.
3. Do I need to have GPT-3 API access to build a chatbot?
Yes, you'll need to have access to the GPT-3 API in order to integrate it into your chatbot. You can obtain API access by signing up for an OpenAI account & obtaining your API key.
4. Can chatbots be used in all industries?
Yes, chatbots have the potential to be useful in many different industries, from customer service & e-commerce to healthcare & finance. However, the specific use cases & features of a chatbot will vary depending on the industry & its needs.
5. What resources can I use to continue learning about Python & GPT-3?
There are many resources available online for learning about Python & GPT-3, including online courses, tutorials & documentation. You can also join online communities such as the OpenAI forums or Stack Overflow to ask for help & advice from other developers.


Similar readings
a3dc85.jpg)
.jpg)

Apoorva
19-11-2025
Advanced RAG 04: Contextual Compressors & Filters
technology
fd8f11.png)

.jpg)
.jpg)
Industries We Serve
